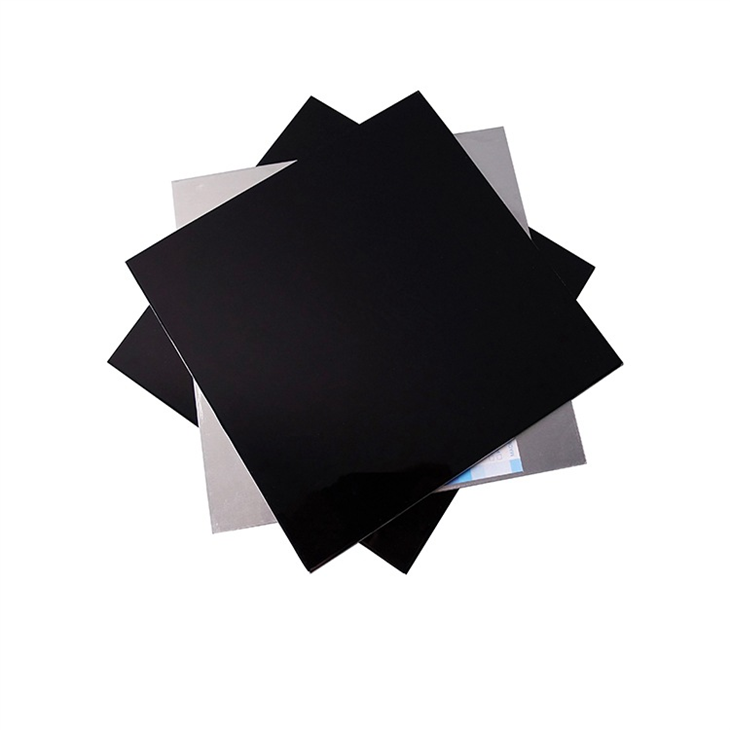
Fiber cement wall cladding is a popular choice for both residential and commercial buildings due to its durability, versatility, and aesthetic appeal. As a leading wall cladding supplier, I've had the privilege of witnessing firsthand the transformative power of fiber cement cladding in enhancing the look and functionality of structures. In this blog post, I'll guide you through the installation process of fiber cement wall cladding, providing you with valuable insights and tips to ensure a successful project.
Preparation
Before you start installing fiber cement wall cladding, it's crucial to prepare the site properly. Here are the key steps to follow:
-
Measure and Plan: Begin by measuring the area where the cladding will be installed. This will help you determine the amount of material you need to purchase. Create a detailed plan that includes the layout of the cladding panels, the location of windows, doors, and other openings, and any special features or design elements.
-
Gather Tools and Materials: Make sure you have all the necessary tools and materials on hand before you start the installation. Some of the essential tools include a circular saw, jigsaw, drill, hammer, level, tape measure, and safety equipment such as goggles and gloves. The materials you'll need include fiber cement cladding panels, fasteners, sealant, and underlayment.
-
Prepare the Wall Surface: The wall surface must be clean, dry, and free of any debris or loose material. If the wall is uneven or has any protrusions, you may need to level it or remove the obstacles before installing the cladding. In some cases, you may also need to install a layer of underlayment to provide additional insulation and moisture protection.
Installation
Once you've completed the preparation phase, it's time to start installing the fiber cement wall cladding. Here's a step-by-step guide to help you through the process:
-
Install the Starter Strip: Begin by installing a starter strip at the bottom of the wall. The starter strip provides a level base for the cladding panels and helps to prevent water from seeping behind the cladding. Use a level to ensure that the starter strip is straight and secure it to the wall using fasteners.
-
Cut the Cladding Panels: Measure and mark the cladding panels according to your layout plan. Use a circular saw or jigsaw to cut the panels to the desired size and shape. Make sure to wear safety goggles and gloves when cutting the panels to protect yourself from dust and debris.
-
Install the Cladding Panels: Start at the bottom of the wall and work your way up. Place the first cladding panel on top of the starter strip and align it with the edge of the wall. Use a level to ensure that the panel is straight and secure it to the wall using fasteners. Leave a small gap between each panel to allow for expansion and contraction.
-
Join the Cladding Panels: As you install the cladding panels, you'll need to join them together to create a seamless look. There are several methods for joining fiber cement cladding panels, including butt joints, shiplap joints, and tongue-and-groove joints. Choose the method that best suits your design and installation requirements.
-
Install the Trim and Accessories: Once you've installed the cladding panels, it's time to add the trim and accessories. Trim pieces such as corner posts, window and door surrounds, and soffit panels can enhance the appearance of the cladding and provide additional protection against the elements. Use a miter saw to cut the trim pieces to the desired length and angle, and secure them to the wall using fasteners.
-
Seal the Joints and Edges: To prevent water from seeping behind the cladding, it's important to seal the joints and edges. Use a high-quality sealant that is specifically designed for fiber cement cladding. Apply the sealant to the joints and edges using a caulking gun, and smooth it out with a putty knife.
Finishing Touches
After you've completed the installation of the fiber cement wall cladding, there are a few finishing touches that you can add to enhance the appearance and durability of the cladding. Here are some suggestions:
-
Paint or Stain the Cladding: Fiber cement cladding can be painted or stained to match the color scheme of your building. Choose a high-quality paint or stain that is specifically designed for fiber cement cladding, and follow the manufacturer's instructions for application.
-
Clean the Cladding: Once the paint or stain has dried, clean the cladding using a mild detergent and water. Use a soft-bristled brush or sponge to remove any dirt or debris from the surface of the cladding.
-
Inspect the Installation: Finally, inspect the installation to ensure that everything is secure and in place. Check for any loose or damaged panels, fasteners, or sealant, and make any necessary repairs or adjustments.
Conclusion
Installing fiber cement wall cladding is a rewarding project that can enhance the look and functionality of your building. By following the steps outlined in this blog post and using the right tools and materials, you can ensure a successful installation that will last for many years to come.


If you're interested in purchasing fiber cement wall cladding or other types of wall cladding products, I invite you to explore our website. We offer a wide range of high-quality wall cladding solutions, including Aluminum Composite Panel For Building External Cladding, Alucobond Aluminum Composite Material, and Quickly Installed PE Aluminum Cladding Panel. Our team of experts is also available to provide you with professional advice and support to help you choose the right cladding solution for your project. Contact us today to start your next wall cladding project!
References
- "Fiber Cement Siding Installation Guide." James Hardie, 2023.
- "How to Install Fiber Cement Siding." This Old House, 2023.
- "Fiber Cement Cladding: A Comprehensive Guide." BuildDirect, 2023.