Wall cladding is a fantastic way to enhance the aesthetic appeal and functionality of your building. As a leading wall cladding supplier, we understand the importance of a proper installation process. In this blog post, we'll guide you through the steps of installing wall cladding, ensuring a successful and long - lasting result.

Step 1: Preparation
Before you start the installation, it's crucial to prepare the work area and gather all the necessary tools and materials.
Tools
- Measuring tape: To accurately measure the wall dimensions and cut the cladding panels to the right size.
- Circular saw or jigsaw: For cutting the wall cladding panels.
- Drill: To make holes for fixing the panels.
- Screwdriver: For tightening the screws.
- Level: To ensure that the cladding is installed straight and level.
- Safety equipment: Such as safety glasses, gloves, and a dust mask.
Materials
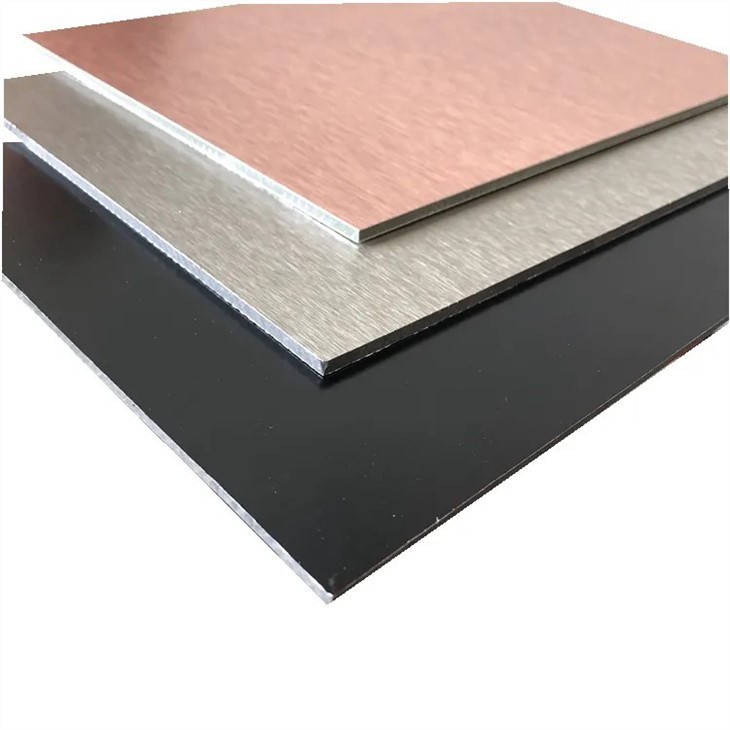
- Wall cladding panels: We offer a wide range of high - quality wall cladding options, including Export 3/4mm Wholesale Aluminum Sanwich Materials. These panels are durable, lightweight, and easy to install.
- Fasteners: Screws or nails that are suitable for the type of wall and cladding material.
- Adhesive: If required by the installation instructions of your specific cladding.
- Sealant: To seal the joints between the panels and prevent water penetration.
Surface Preparation
- Clean the wall surface thoroughly to remove any dirt, dust, or debris. A clean surface ensures better adhesion and a more secure installation.
- Check the wall for any unevenness or damage. If there are any bumps or dips, you may need to sand or fill them to create a smooth surface.
- Measure the wall height and width accurately. Mark the starting point for the first panel at the bottom of the wall.
Step 2: Layout and Marking
- Start by laying out the cladding panels on the ground to get an idea of how they will fit together. This helps you plan the installation and minimize waste.
- Use a chalk line or a straightedge to mark the horizontal and vertical lines on the wall where the panels will be installed. These lines act as guides to ensure that the panels are installed in a straight and even manner.
- If you are using panels with a specific pattern or grain, make sure to align them correctly during the layout process.
Step 3: Cutting the Panels
- Measure the length and width of each panel according to the wall dimensions and the layout plan.
- Use a circular saw or a jigsaw to cut the panels to the appropriate size. Make sure to wear safety glasses and follow the manufacturer's instructions for cutting the specific type of cladding material.
- For Building Material ACP PE Coating Aluminum Composite Panel, a fine - toothed saw blade is recommended to achieve a clean cut.
- After cutting, smooth the edges of the panels with sandpaper to remove any rough edges or burrs.
Step 4: Installation of the First Panel
- Start at the bottom left or right corner of the wall, depending on your preference. Apply adhesive or place fasteners at the marked locations on the wall.
- Carefully lift the first panel and align it with the marked lines on the wall. Press it firmly against the wall to ensure good contact with the adhesive or fasteners.
- Use a level to check if the panel is perfectly horizontal and vertical. Make any necessary adjustments before securing the panel in place.
- If using screws, drill pilot holes first to prevent the panel from cracking. Then, insert the screws through the panel and into the wall, tightening them securely.
Step 5: Installing Subsequent Panels
- Once the first panel is installed, continue installing the remaining panels one by one. Fit each panel tightly against the previous one to create a seamless appearance.
- Use a spacer between the panels to ensure a consistent gap for expansion and contraction. The width of the spacer depends on the type of cladding material and the manufacturer's recommendations.
- For LDPE Composite Aluminum Panel As Cabinets, which are often used in interior applications, pay extra attention to the alignment and finish of the joints.
- As you install the panels, periodically check the level and alignment to maintain a straight and even installation.
Step 6: Trimming and Finishing
- When you reach the end of a row or a corner, you may need to trim the panels to fit the remaining space. Measure and cut the panels accordingly, and then install them in place.
- At the top of the wall, cut the final panel to the correct height and install it.
- Apply sealant to the joints between the panels to prevent water and air infiltration. Use a caulking gun to apply the sealant evenly along the joints, and then smooth it out with a putty knife or your finger.
- Clean the surface of the installed cladding to remove any excess adhesive, sealant, or dirt.
Step 7: Quality Check
- After the installation is complete, conduct a thorough quality check. Inspect the panels for any visible damage, unevenness, or gaps.
- Check the alignment of the panels and make sure they are straight and level.
- Test the integrity of the joints by gently pressing on them to ensure they are secure.
- Look for any signs of water leakage or air infiltration. If you find any issues, address them immediately.
Conclusion
Installing wall cladding can be a rewarding DIY project or a professional installation. By following these steps and using high - quality materials from our company, you can achieve a beautiful and durable wall cladding installation. Whether you choose Export 3/4mm Wholesale Aluminum Sanwich Materials, Building Material ACP PE Coating Aluminum Composite Panel, or LDPE Composite Aluminum Panel As Cabinets, we are here to support you throughout the process.
If you have any questions about our wall cladding products or need further guidance on installation, we encourage you to contact us for a procurement discussion. Our team of experts is ready to assist you in finding the best solutions for your project.
References
- "Wall Cladding Installation Guide", Industry Standard Handbook
- Manufacturer's Installation Instructions for Aluminum Composite Panels