Hey there! As a supplier of ACP wall cladding, I'm super stoked to share with you how to install ACP wall cladding on a brick wall. It's a pretty cool process that can totally transform the look of your building. So, let's dive right in!
1. Preparation
Before you start slapping that ACP on the wall, you gotta get everything ready. First off, you need to measure the area of the brick wall where you plan to install the cladding. This helps you figure out how much ACP material you'll need. You don't wanna end up with too much or too little, right?
Next, gather all the tools you'll need. You'll need a measuring tape, a straightedge, a utility knife, a drill, screws, a level, and some adhesive. Oh, and don't forget safety gear like gloves and goggles. Safety first, always!
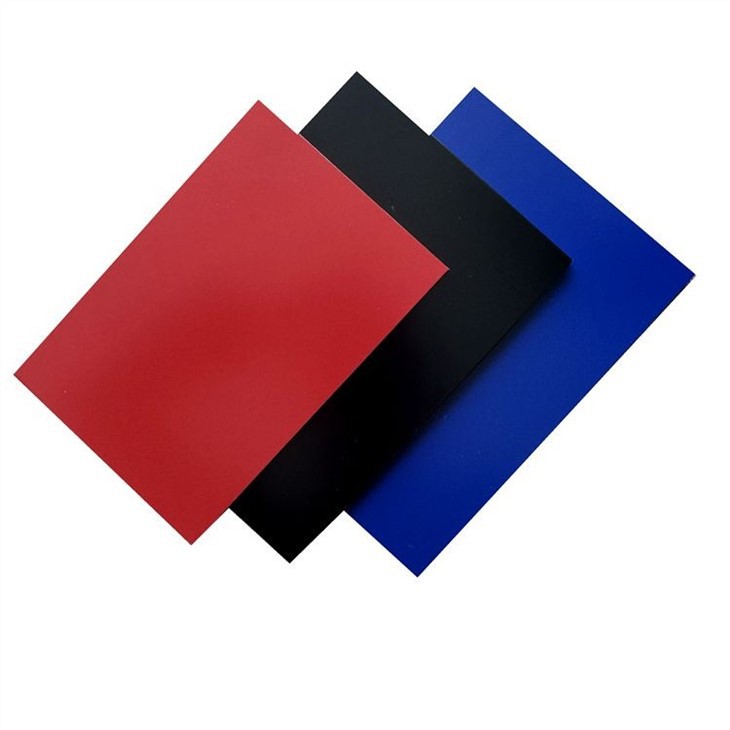
When it comes to the ACP material itself, we've got some great options. Check out the Alucobond Aluminum Composite Material. It's high - quality and super durable. And if you're into a more subtle look, the Light Grey 3mm ACP Sheet is a great choice.
2. Cleaning the Brick Wall
The brick wall needs to be clean and dry before you install the ACP cladding. Use a wire brush to remove any loose debris, dirt, or paint from the wall surface. Then, wash the wall with a mild detergent and water. Rinse it thoroughly and let it dry completely. A clean surface ensures better adhesion of the ACP to the wall.
3. Marking the Wall
Once the wall is clean and dry, it's time to mark where you're going to install the ACP. Use a measuring tape and a straightedge to mark the horizontal and vertical lines on the wall. Make sure the lines are straight and level. You can use a level to double - check. These lines will serve as a guide when you're installing the ACP panels.
4. Cutting the ACP Panels
Now, it's time to cut the ACP panels to the right size. You can use a utility knife to score the panel along the cutting line and then break it along the score. For more complex cuts, like curves or angles, you might need to use a saw. If you're looking for some advanced techniques for cutting and shaping ACP, check out Aluminum Composite Panel Cutting Slotting Bending Decoration.
When cutting the panels, make sure to wear gloves and goggles to protect yourself from any sharp edges. And measure twice, cut once! You don't want to mess up the panels.
5. Applying Adhesive
There are two main ways to attach the ACP panels to the brick wall: using adhesive or mechanical fasteners. In this case, we'll talk about using adhesive. Apply a high - quality construction adhesive to the back of the ACP panel. Make sure to spread the adhesive evenly, covering the entire surface. You can use a notched trowel to get a good, even coat.
6. Installing the ACP Panels
Carefully place the ACP panel on the marked area of the brick wall, aligning it with the guide lines. Press the panel firmly against the wall to ensure good contact with the adhesive. Use a level to make sure the panel is straight and level. You may need to hold the panel in place for a few minutes until the adhesive starts to set.
For larger panels, you might want to use some temporary supports to hold the panel in place while the adhesive dries. You can use wooden blocks or clamps.
7. Joining the Panels
If you're installing multiple ACP panels, you'll need to join them together. There are different methods for joining panels, such as butt joints or tongue - and - groove joints. Make sure to align the panels properly and use a small amount of adhesive at the joint to secure them.
8. Finishing Touches
Once all the panels are installed, check for any gaps or uneven areas. You can use a sealant to fill in the gaps between the panels. This not only makes the installation look better but also helps to protect the wall from moisture and dirt.
Trim any excess ACP material around the edges of the installation using a utility knife. And that's it! Your ACP wall cladding on the brick wall is now installed.
9. Maintenance
After the installation, it's important to maintain your ACP wall cladding. Regularly clean the panels with a mild detergent and water. Avoid using abrasive cleaners or tools that could scratch the surface of the ACP.
If you notice any damage to the panels, such as scratches or dents, you can repair them using a suitable repair kit. And if you need more ACP material in the future for repairs or expansions, we're here to help.

Why Choose Our ACP Wall Cladding?
As a supplier, we offer high - quality ACP wall cladding at competitive prices. Our products are made from the best materials and are designed to last. We have a wide range of colors and finishes to choose from, so you can find the perfect look for your project.
Whether you're doing a small home renovation or a large commercial project, our ACP wall cladding is a great choice. And if you have any questions about installation, material selection, or anything else, our team of experts is always ready to help.
Let's Talk Business
If you're interested in purchasing ACP wall cladding for your project, don't hesitate to reach out. We can provide you with detailed product information, pricing, and samples. We want to make sure you get the best product for your needs. Just drop us a line, and we'll start the conversation. We're looking forward to working with you on your next project!
References
- Construction Materials Handbook: A guide to various construction materials and their installation processes.
- Aluminum Composite Panel Manufacturer's Manual: Specific instructions and guidelines from the ACP manufacturers.
So, that's how you install ACP wall cladding on a brick wall. I hope this blog has been helpful to you. If you have any other questions or need more tips, feel free to ask. Good luck with your installation!