Hey there! I'm an ACP cladding supplier, and I've seen firsthand how ACP cladding can transform a ceiling. It's durable, stylish, and relatively easy to install if you know what you're doing. In this blog post, I'm gonna walk you through the process of installing ACP cladding on a ceiling step by step.
What is ACP Cladding?
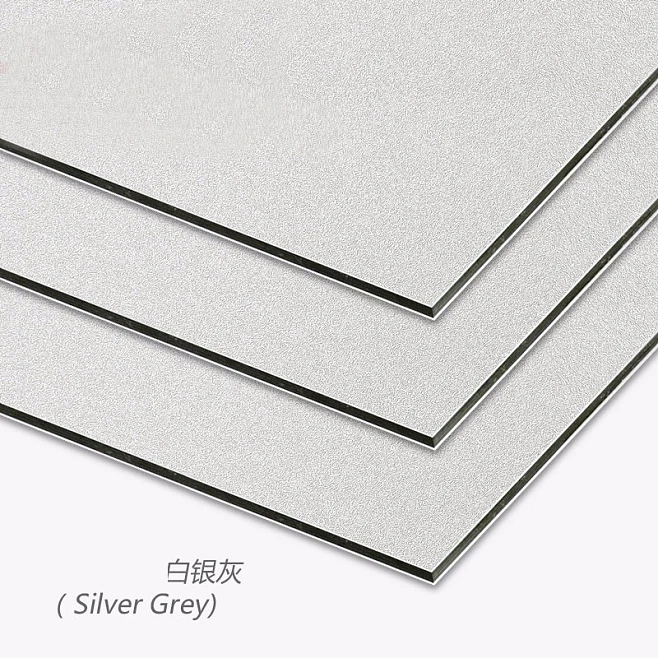
Before we dive into the installation process, let's quickly talk about what ACP cladding is. ACP stands for Aluminum Composite Panel. It's made up of two thin aluminum sheets bonded to a non-aluminum core, usually polyethylene or fire-resistant materials. There are different types of ACP claddings available in the market, like the ALucobond Aluminum Composite Panel, Plastic Aluminum Composite Sheet PVDF ACP Sheet Polyethylence Core ACP, and Outdoor Aluminum Composite Panel PVDF Coating. Each type has its own unique features and is suitable for different applications.
Tools and Materials You'll Need
- Tools:
- Measuring tape
- Circular saw or jigsaw
- Drill
- Screwdriver
- Level
- Utility knife
- Safety goggles
- Gloves
- Materials:
- ACP cladding panels
- Ceiling battens or profiles
- Screws
- Adhesive (optional)
- Sealant
Step 1: Measure and Plan
The first step is to measure the ceiling area where you'll be installing the ACP cladding. Use a measuring tape to get accurate dimensions. Make sure to account for any obstacles like light fixtures, vents, or pipes. Once you have the measurements, plan how you'll layout the panels. You can choose to install them horizontally, vertically, or in a diagonal pattern. It's a good idea to draw a rough sketch on paper to visualize the layout.
Step 2: Prepare the Ceiling
Before you start installing the ACP cladding, you need to prepare the ceiling surface. If the ceiling is uneven, you'll need to install ceiling battens or profiles to create a flat and stable base. Measure and mark the positions of the battens on the ceiling, making sure they are evenly spaced. Use a drill to attach the battens to the ceiling using screws. Make sure the battens are level using a spirit level.
Step 3: Cut the ACP Panels
Once the ceiling is prepared, it's time to cut the ACP panels to the required size. Use a circular saw or jigsaw to make the cuts. Make sure to wear safety goggles and gloves when cutting the panels. Measure and mark the cutting lines on the panels using a measuring tape and a pencil. Then, carefully cut along the marked lines. You can also use a utility knife to score the panels and then snap them along the scored line for a cleaner cut.
Step 4: Install the ACP Panels
Now it's time to install the ACP panels on the ceiling. Start by positioning the first panel at one end of the ceiling. You can use adhesive to attach the panel to the battens or profiles for added stability, but it's not always necessary. If you're not using adhesive, simply align the panel with the battens and use screws to secure it in place. Make sure the panel is level and flush with the adjacent panels. Repeat this process for the remaining panels, working your way across the ceiling.

Step 5: Join the Panels
When installing multiple ACP panels, you'll need to join them together. There are different ways to join the panels, depending on the type of ACP cladding you're using. Some panels come with pre - installed joints, while others may require you to use a special jointing system or adhesive. Follow the manufacturer's instructions for the best results. Make sure the joints are tight and seamless for a professional finish.
Step 6: Trim and Finish
Once all the panels are installed, you may need to trim the edges to fit the ceiling perimeter. Use a utility knife or a saw to trim the excess material. After trimming, use a sealant to seal the edges and joints of the panels. This will prevent moisture from getting in and ensure the longevity of the installation.
Step 7: Clean Up
Finally, clean up the installation area. Remove any debris, dust, or sawdust from the ceiling and the surrounding area. Use a clean cloth to wipe down the ACP panels to remove any fingerprints or marks.
Tips and Tricks
- Always wear safety gear like goggles and gloves when working with ACP panels and power tools.
- Make sure to follow the manufacturer's instructions for cutting, installing, and maintaining the ACP cladding.
- If you're not confident in your DIY skills, it's a good idea to hire a professional installer.
- Test the adhesive or sealant on a small, inconspicuous area of the panel before using it on the entire installation.
Conclusion
Installing ACP cladding on a ceiling can be a rewarding DIY project that can give your space a modern and stylish look. By following these steps and tips, you can achieve a professional - looking installation. If you're interested in purchasing ACP cladding for your project, feel free to reach out to us. We offer a wide range of high - quality ACP cladding products at competitive prices. Whether you're working on a residential or commercial project, we've got you covered. Contact us today to start your ACP cladding journey!
References
- General knowledge and experience from working as an ACP cladding supplier.
- Manufacturer's guidelines for ACP cladding installation.